Atelier
Basic Bike Maintenance
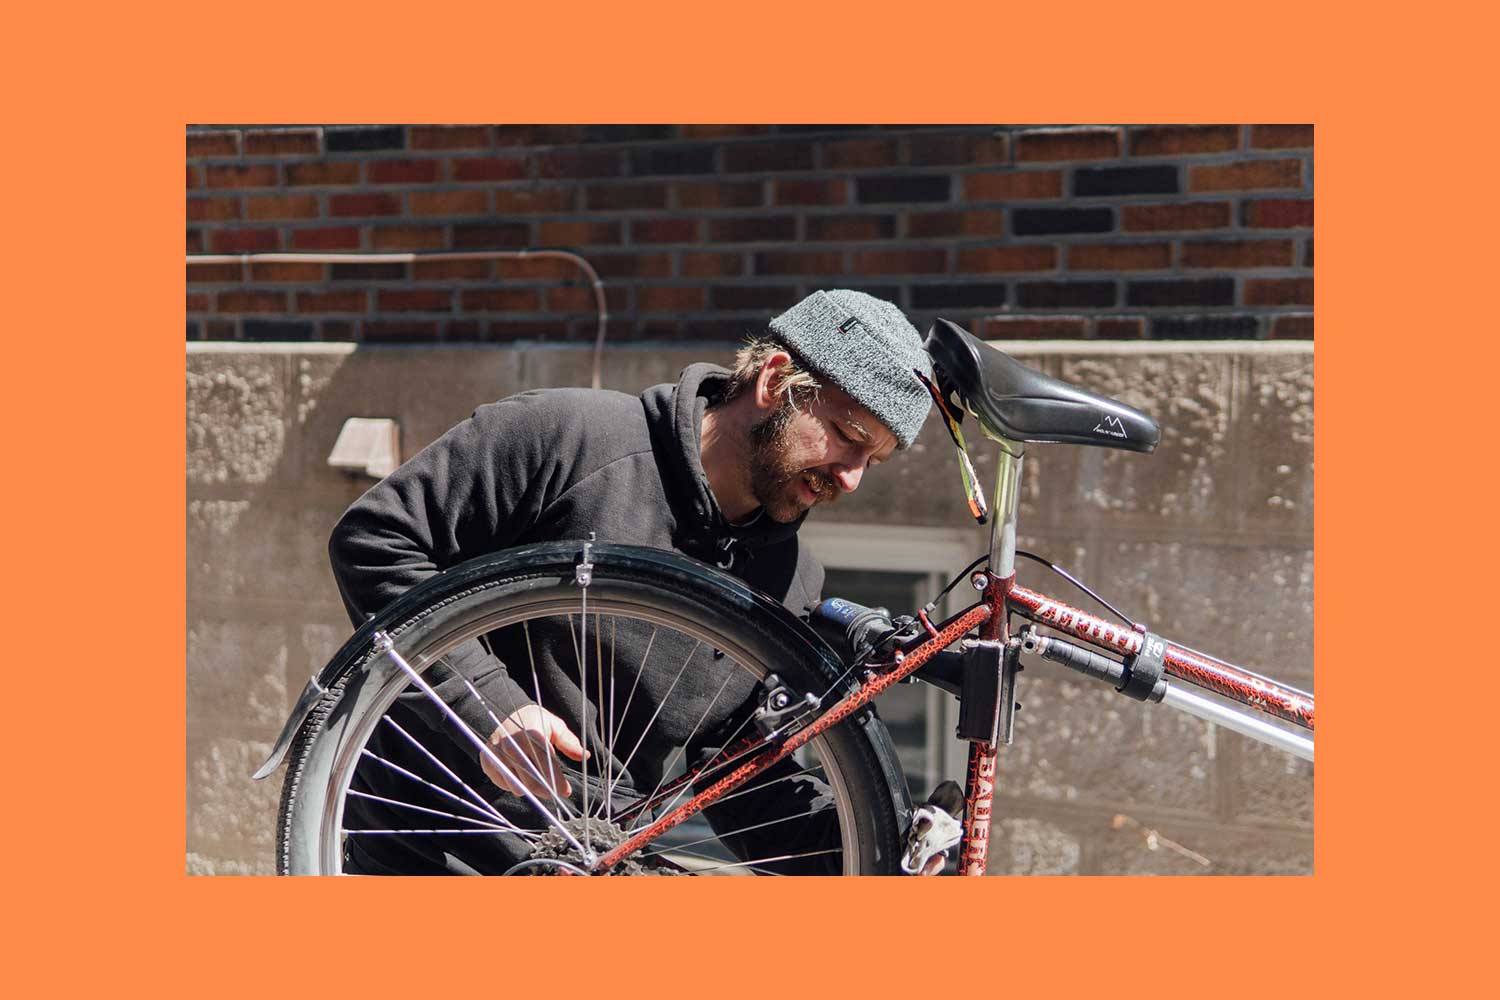
Our own colleague Stéphane, BESIDE Cabins project manager and moonlighting bike mechanic, shows you all you need to know to do your own spring tune-up.
Text—Stéphane Bélanger
Photos—Eliane Cadieux
Cycling has fascinated me from a very young age. At seven years old, I was already leaving the house on two wheels in search of freedom. I would have fun splashing through the largest, muddiest puddles I could find and skidding over the gravel in Marcel-Simard park in Saint-Hubert, whipping up big clouds of dust in my wake.
Later in life, while studying architecture, cycling became my only mode of transportation. Tired of taking the bus in the summer heat, I bought my first road bike—an old 1986 Supercycle—at a garage sale on my street. I’d started to become a novice mechanic, and I decided to “simplify” my bike myself by getting rid of its gears. My first trip over the Jacques-Cartier bridge was epic, to say the least. But in the months that followed, I would cross the bridge daily with a smile on my face and an incredible view of Montreal.
I’ve had my wildest adventures and met my best friends thanks to, if not on, two wheels. Ten years ago, these friends and I founded The Rise collective, which has just launched a new web series called the Partymaster Tour.

Today, cycling isn’t just a way to get around, have fun with friends, or enjoy one’s freedom, it lets us live a more independent and environmentally friendly lifestyle. And in the time of a global pandemic, cycling is undoubtedly the best way to keep in shape while keeping our distance, and take in a bit of fresh air too.
Because I can’t offer bike repair workshops outside the BESIDE offices this spring, I’m sharing my own mini guide on how to do your own spring tune-up along with some tips on how to make cycling a part of your life for good.
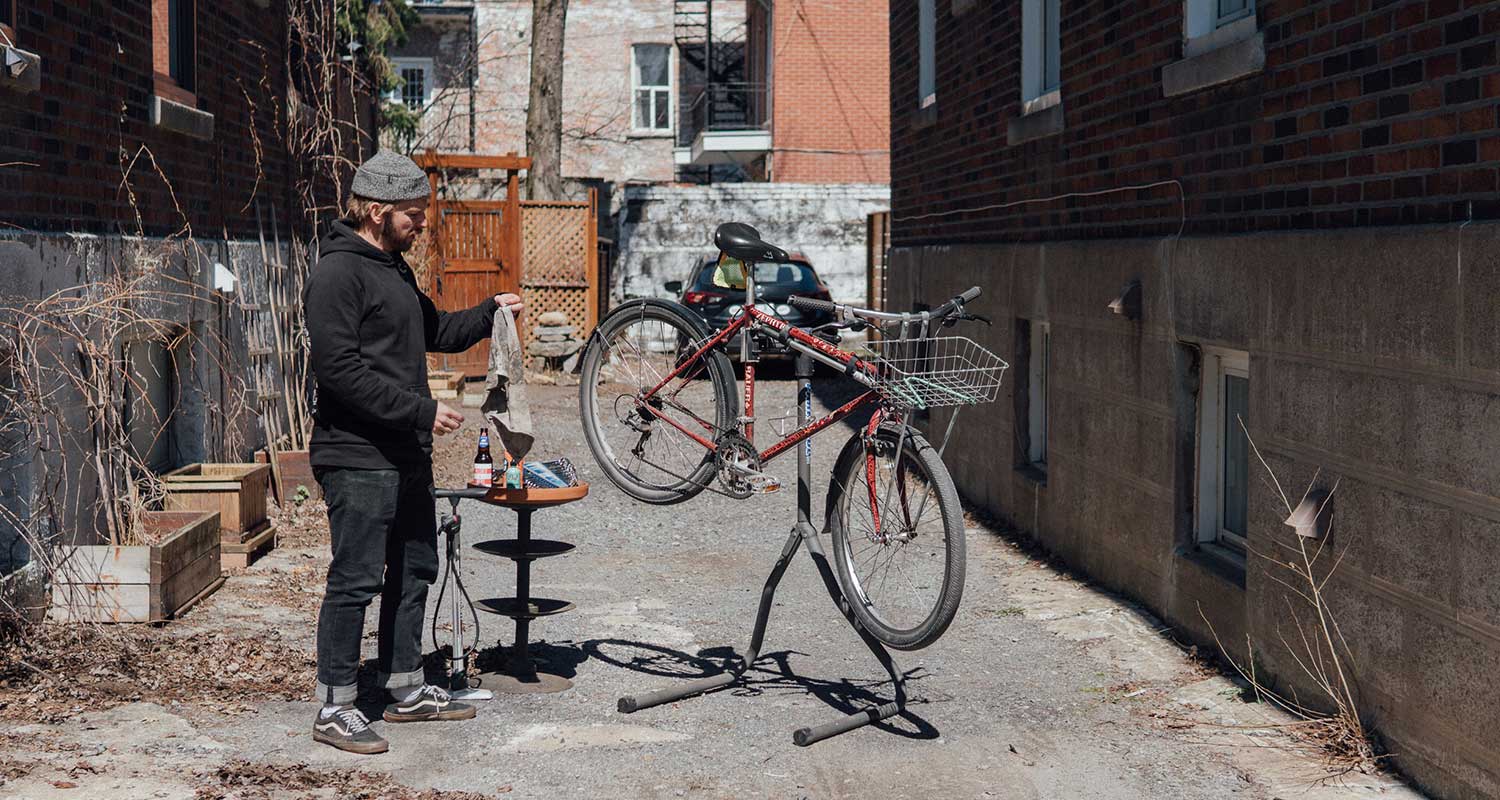
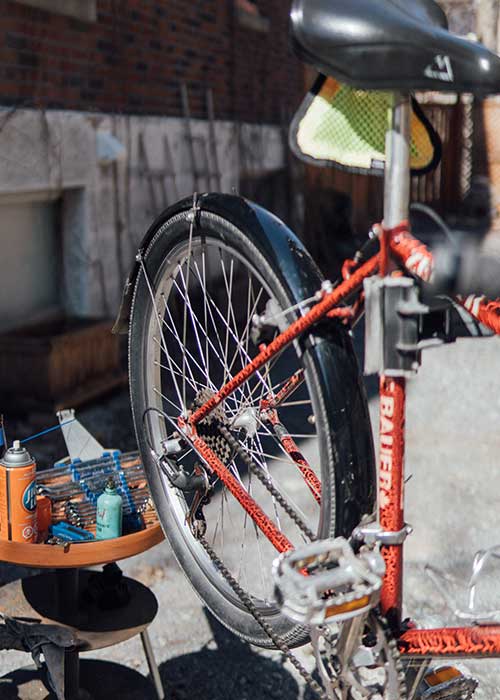
Beer and Bike Grease: the Art of a DIY Tune-Up
These are the main steps to a spring tune-up and the basic tools you’ll need. To mix business with pleasure, I highly recommend adding a little afternoon beer onto your to-do list as well.
If you’ve left your bike outside all winter and your chain is now stiff as a rod, I suggest you take care of Step 1 and then head straight to your neighbourhood bike shop. Many have just reopened their doors under the government’s authorization.
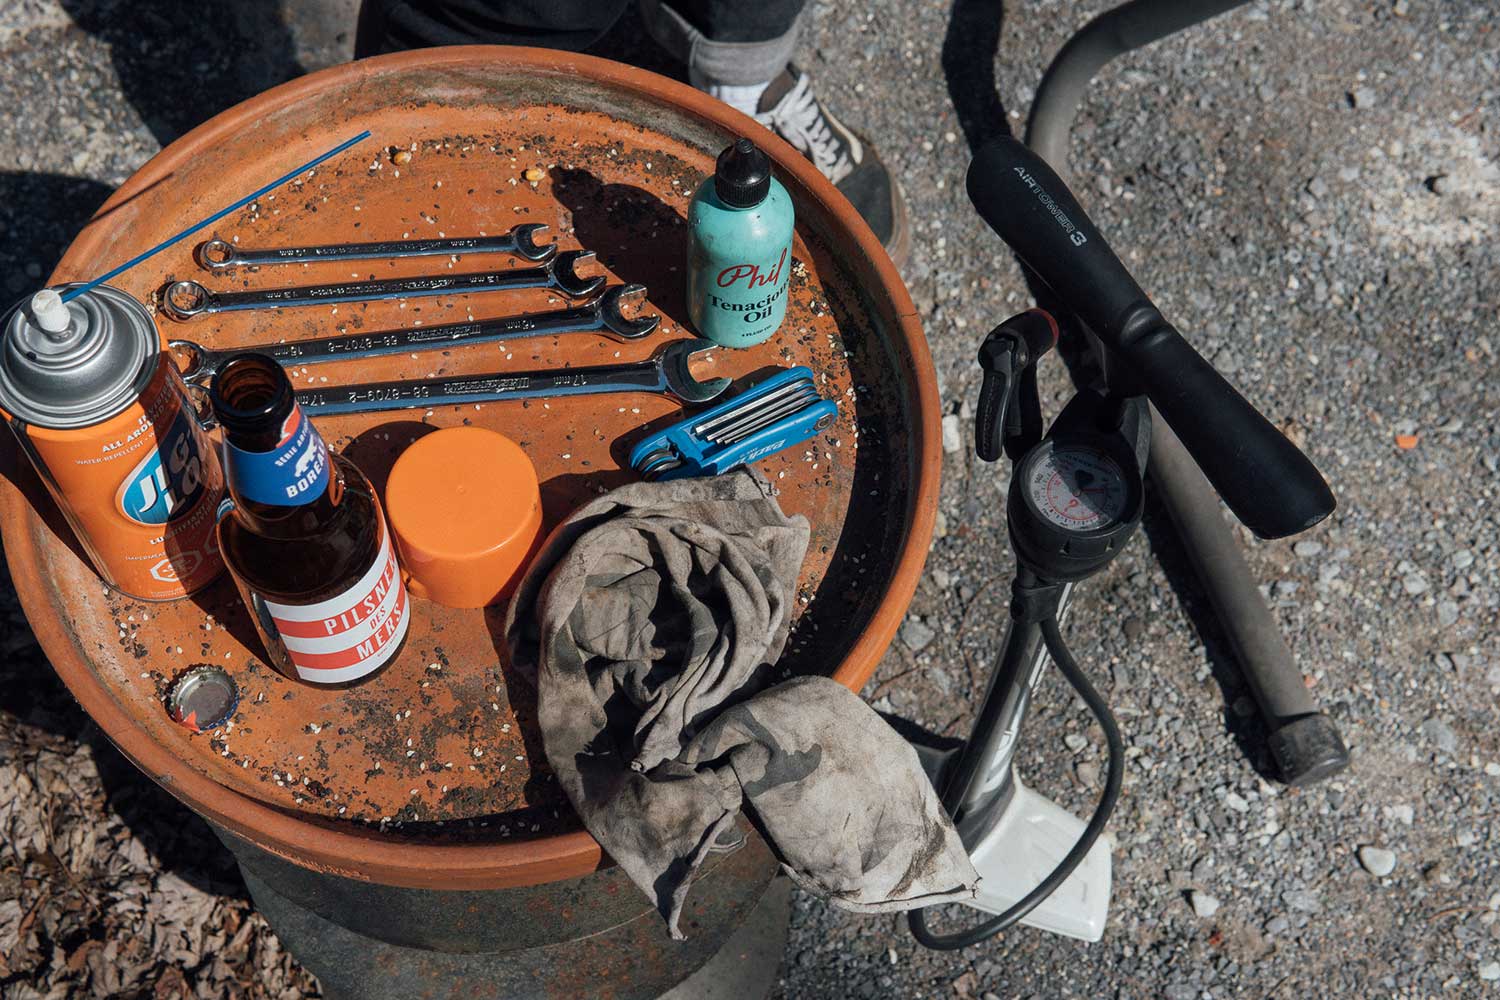
— Tools —
- A floor pump with pressure gauge
- Chain lube (or olive oil if you’re in a pinch)
- An all-purpose lubricant (like JIG-A-LOO)
- Allen keys
- A set of wrenches (8, 10, 13, 15, and 17 mm)
- An old rag
- Avoid using a vice grip at all costs!
— Instructions —
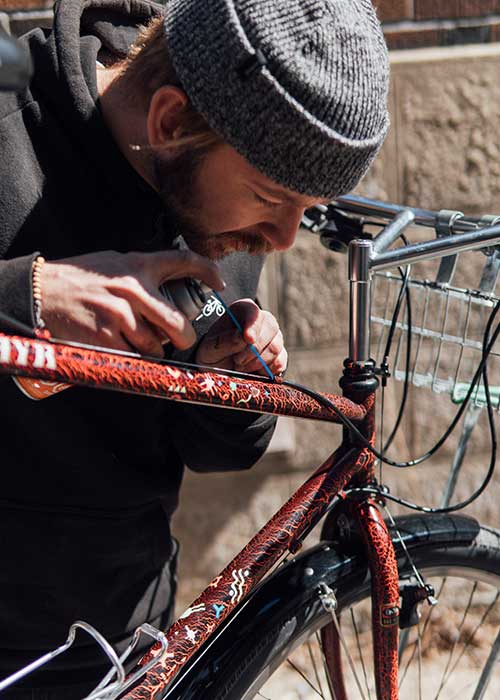
Basic cleaning
Give your whole bike a good cleaning with a bit of water, dish soap, and an old rag. Never use a pressure washer on your bike and be sure to dry it well. This is also a good time to give your bike a thorough once-over and make sure that every screw and bolt is tightened—just be careful not to overtighten anything!
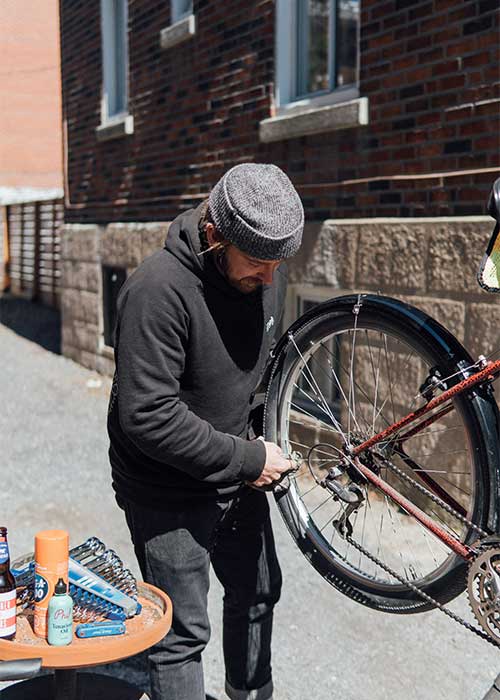
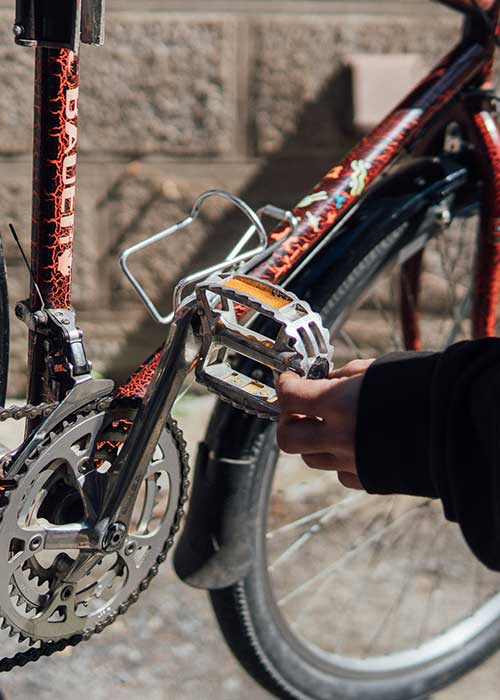
Lube it up
A. Lubing your chain
Add some oil to the “inside” of your chain, while turning your crank backwards.
If you’ve added too much lube, remove the excess with the rag. Like the fine art of saucing poutine, you want just the right amount of gravy so it’s not too dry or too wet! Note that you shouldn’t use WD40 to lube your bike, but you can use it to clean your chain first.
For the creative types out there, here’s an old grandpa trick for cleaning your chain with toothbrushes and tape.
B. Lube your cables
To reduce friction and add a bit of life to your brake and derailleur cables, put a bit of JIG-A-LOO at every point where the cable enters the housing. Be very careful not to get any on your rims or brake pads.
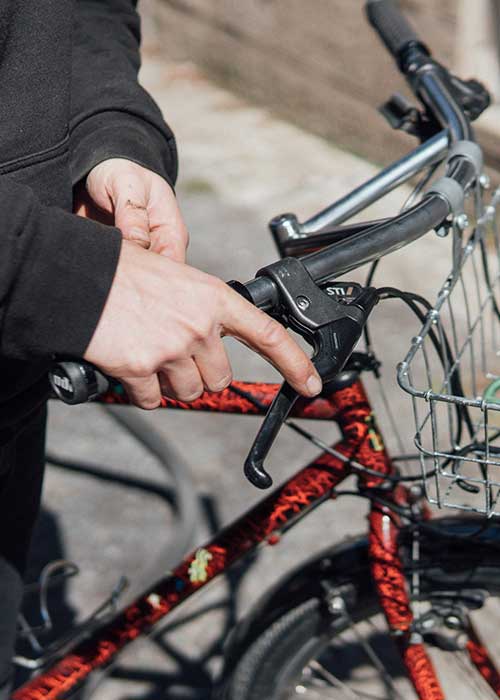
Check your brakes before speeding off
Checking your brakes is a two-step process.
First, stand next to your bike and, while pressing down on your brake levers, try to push your bike forward along the ground. Be sure to check your front and rear brakes separately. If your lever comes too close to your handle bar, that means that you either need to tighten your brake cable or that your brake pads are worn out.
Start with your brake pads.
Check how much rubber is left on them by looking at the grooves (a little bit like a car tire). If you can barely see the grooves anymore, then you need to pay your bike shop a quick visit.
If there’s enough rubber left on your brake pads, but the brake lever crushes your fingers, then your brake cable needs to be tightened.
To tighten your brake cable, unscrew the barrel adjuster on your brake lever. Keep testing your brakes until the lever is far enough away from your handlebars. If your barrel adjuster is already maxed out, you have to tighten the cable at the brake itself with a wrench.
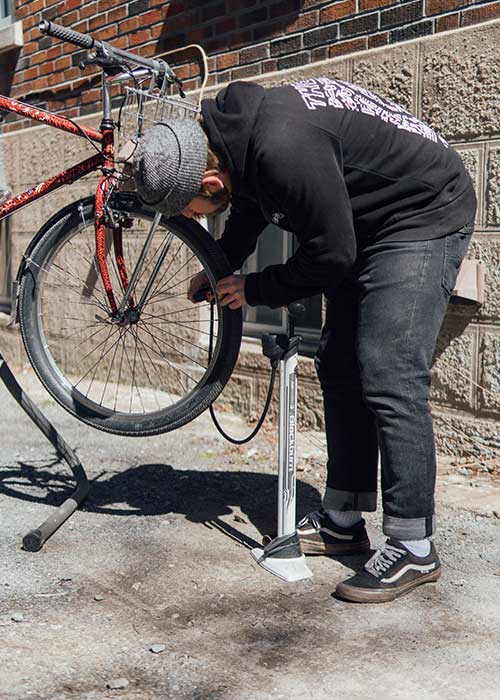
Test your tire pressure
Having properly inflated tires means you can enjoy pedaling with less effort, but it’s also important for preventing frequent flat tires and wear.
Use a pump with a pressure gauge to check the tire pressure.
The wider your tire, the less pressure it needs. The narrower your tire, the more pressure it needs. A hybrid city bike generally requires 50–60 psi.
Tip: the max pressure is usually written on the side of your tires.
Fenders in a Pandemic: Cycling as a Way of Life
Biking is not just a leisure activity, it’s also a way of getting around every day. But if you want to enjoy it, it’s worth investing in a bit of gear… And then you’ll also have no more excuses for leaving your bike at home! Here are my three must-haves for city cycling.
Lights and reflectors
These two are an absolute must. Your best bet are lights that you can easily take on and off your bike so that you can slip them into your pocket when you pop into the grocery store or lock up your bike to join your friends for a drink. Lights are often stolen, so make sure you get into the habit of taking them off.
Fenders or mud guards
Fenders are lifesavers all year round.
They’re easy to install and there’s a model for every kind of bike. Just ask your local bike shop what they’d recommend for your ride.
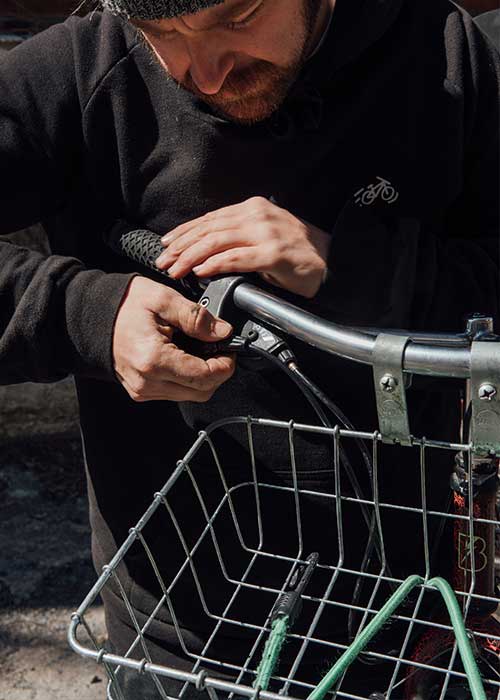
Baskets
A bike baskets is so much more practical than a backpack.
The classic milk crate attached to your rear rack with zip ties is by far the most budget-friendly option. I myself prefer the slightly more upscale front basket, so that you can keep an eye on your croissants, groceries, and six packs of local beer while you ride.
Here again, it’s best to ask the staff at your local bike shop what they think. They’ll be able to tell you which basket is right for your bike and for what you normally carry.
Stéphane is a BESIDE Cabins project manager. A bon vivant by nature, he’s happiest rolling through the forest on any one of his four bikes, regaling his friends with seemingly endless tales of his adventures over a beer, or sharing a spicy meal from Pumpui with his girlfriend to remind them of their bike trip across Thailand.