Atelier
Bushcraft, or the Art of Living in the Wild
Outdoor guide Guillaume Rivest gives us a few simple tips to reconnect with the forest.
Text—Guillaume Rivest
Illustrations—Florence Rivest
I firmly believe that nature — and the relationship we’ve had with it for centuries — is inscribed somewhere in our genes. Even though we have become more and more distant from them, many of us feel the call of the woods. In response, the practice of bushcraft has been gaining in popularity in the world of outdoor activities. Bushcraft is sometimes also called “survival,” though I prefer to refer to it as the art of living in the forest.
I define bushcraft as connecting with nature in the simplest and most authentic way possible: the complete opposite of struggling against your environment.
Let this miniguide serve as an introduction to this world, at a time of year when the forest is exploding with colours. Our little initiation includes three useful activities: making a fire, cooking over a wood fire, and building a temporary shelter with a tarp. The ultimate goal is to learn to use what nature offers us, with the bare minimum of tools.
Of course, no article written about life in the forest will ever replace being there. My hope is to push you to get outside, to play and experiment. After all, what could be better than the warmth of the fire and the silence of spruce trees?

– 1 –
The art of making a fire
The first lesson — and, in my opinion, the most important — is the art of making a fire with what can be found in the forest. This is very useful for cooking, warming up, or drying out wet clothes.
Essential equipment:
- Matches or a lighter
- Knife
Optional equipment:
- Hatchet
- Small saw

Step 1: preparation
Every time I’ve had a hard time lighting a fire, it’s because I wasn’t adequately prepared. Before starting, make sure you have everything you’ll need close at hand. Gather the following from the forest around you:
Very flammable material (fire starter)
We’re looking for something that will give off heat quickly. Birch bark, dry beard moss (which often grows on fir branches), pine sap or splints made with your knife, and dry wood.
Small branches or twigs
These will serve as a heat source to set alight the larger pieces of wood. Look for branches that are thinner than a pencil.
Medium-sized branches
Choose branches that range from the width of your thumb to the width of your wrist.

Step 2: the structure
Start building your vertical structure. First, place your fire starter on the ground in the centre. Next, add twigs. Finish it off with medium-sized branches. Make sure you have extra material within reach to use when your flames are blazing and voracious.
Remind yourself that a fire needs three things in order to work: heat, oxygen, and fuel (wood). If one of these things is lacking, the fire will go out.
Helpful tip
Don’t forget: heat rises, which is why the vertical structure is necessary. If you place your fire starter on top of your pile of wood rather than underneath, you won’t manage to get your fire started. (This might seem obvious, but you’d be surprised how often people make this mistake!)

Step 3: lighting and feeding the fire
Using a lighter or a match, set your fire starter alight — think of your growing fire like a constantly hungry ogre. Feed it! Make sure the flames are always in contact with the wood. You can also blow on the coals to give them oxygen.
Once it’s blazing, your fire is ready to receive larger pieces of wood, up to the width of your wrist. If you have logs, this is also the time to use them (sparingly, if you want your fire to burn for a reasonable amount of time!). Then you’ll be able to make a nice bed of coals on which to cook your meal.
What not to do:
- Choose wood that’s too damp: as much as possible, avoid wood that’s been in contact with the ground. Avoid living wood as well; not only do you risk killing an organism, but living wood also contains a great deal of moisture, making it difficult to burn.
- Move too quickly from small pieces of wood to the largest: believe it or not, I’ve seen people try to set a log directly on fire with a lighter! Of course, in optimal conditions the transition from smallest pieces to largest can happen quickly. But in difficult conditions (cold or damp), a slow progression is absolutely essential.
- Undersupply the fire with oxygen: make sure air is circulating easily and that the structure is adequate. A fire that lacks oxygen gives off a lot of smoke, and the flames are hard to see. In this case, take out some wood, or blow on the coals.
- Leave too much space between the different elements that make up your fire (fire starter, twigs, and branches); the heat may be insufficient for the flames to gather momentum.
– 2 –
The art of cooking over a wood fire
Now you have a fire. After the initial joy and a few moments of satisfied contemplation, you’re ready to start cooking your meal! Here are a few simple tips for those who want to try it out (for some more ideas, make sure to check out this BESIDE miniguide as well).
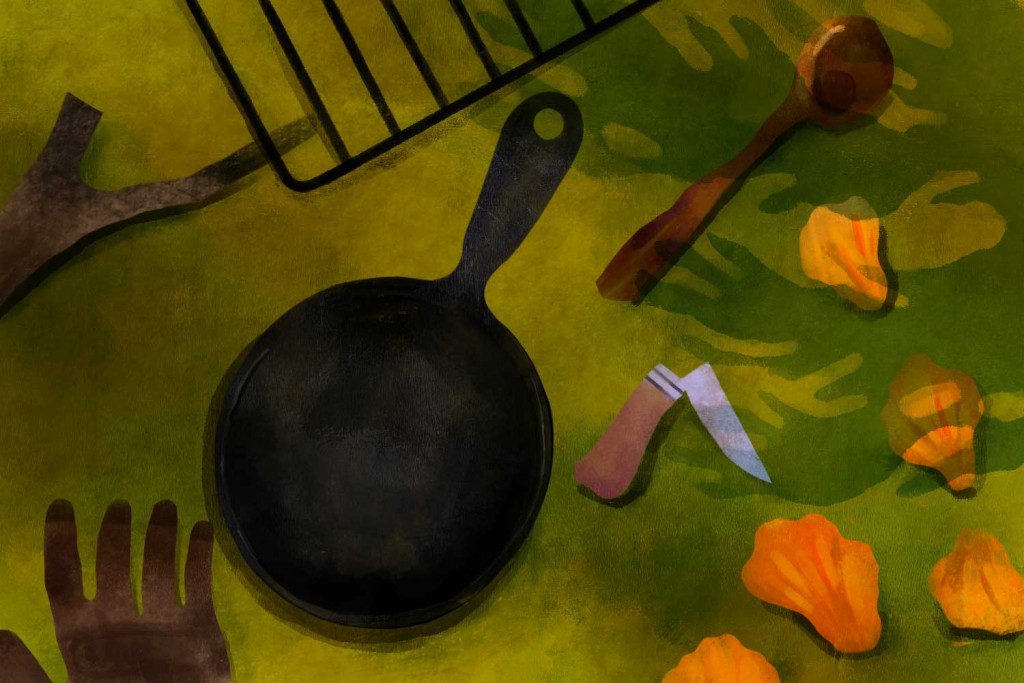
Suggested cooking equipment:
- Heat-resistant gloves are a must
- A poker (you can whittle yourself one in advance)
- Cooking tools you’re not afraid to get dirty. Don’t put your nice titanium pot over the flames; it will inevitably become blackened. For cooking over a wood fire, I prefer cast iron
- A grill
Some suggestions:
- Coals give off a much more constant heat than flames. Cook over the coals with a grill, and don’t hesitate to try cooking right on the coals as well! I love cooking steak this way. Some vegetables, too, are delicious over coals: in particular sweet potatoes and corn (which must be left inside its husk).
- All wood is not created equal. Hardwood such as sugar maple gives off far more heat than more resinous wood like spruce.
- You can estimate the fire’s heat by placing your hand near the spot you’ll be cooking and counting the seconds before the heat becomes intolerable (without burning yourself, of course). The general rule is:
- 1 or 2 seconds = 260–316 °C [500–600 °F]
- 3-4 seconds = 204–260 °C [400–500 °F]
- 5 seconds = 177 °C [350 °F]
- 6 seconds and more = under 149°C [300 °F]
– 3 –
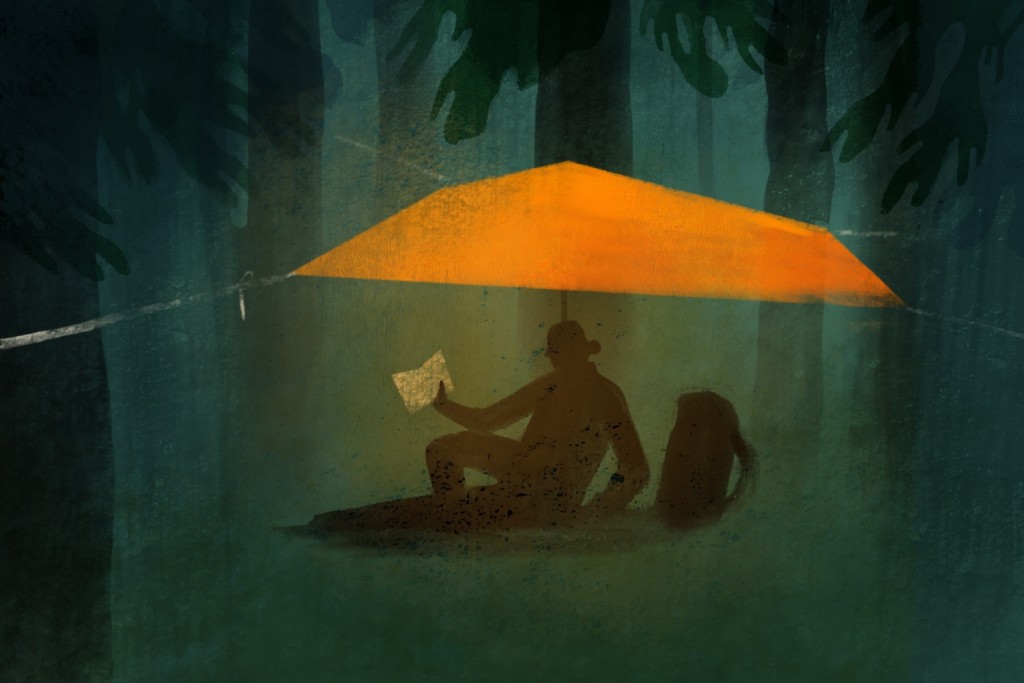
The art of stretching a tarp
After the fire, creating shelter becomes the next necessity in order to protect yourself from the elements. I always make sure to bring a square tarp with me. With the right technique, you can create shelter in less than five minutes. Here’s how:
- Find four anchor points (living trees, preferably) for your tarp.
- Use trucker’s hitches to create tension on each corner of your tarp. Begin with two diagonally opposite corners.
- Place a central pole under your tarp to add further tension — these can be found in specialty stores. Otherwise, two paddles strapped together will do the trick, or a long branch with a piece of cloth on top. This pole should be higher than your anchor points to ensure a good flow of water in case of rain. At this stage, be sure not to exert too much pressure and tear the tarp. Opt for a pole that’s not too pointy.
***
For further reading:
- Bushcraft: Outdoor Skills and Wilderness Survival, by Mors Kochanski, a legend in the field.
- Bushcraft: La survie relax, by Billy Rioux.
Guillaume Rivest is a columnist and freelance journalist from Abitibi-Témiscamingue. An avid lover of nature and the outdoors, he holds a bachelor’s degree in applied political science and a master’s in environmental studies. He works on the Moteur de Recherche program on Ici Radio-Canada Première.