Atelier
How to Make Ink from Foraged Pigments
For years, Toronto-based photographer Lauren Kolyn has collaborated with artist Jason Logan, who creates natural inks with pigments foraged from around the city.
Text & photos—Lauren Kolyn
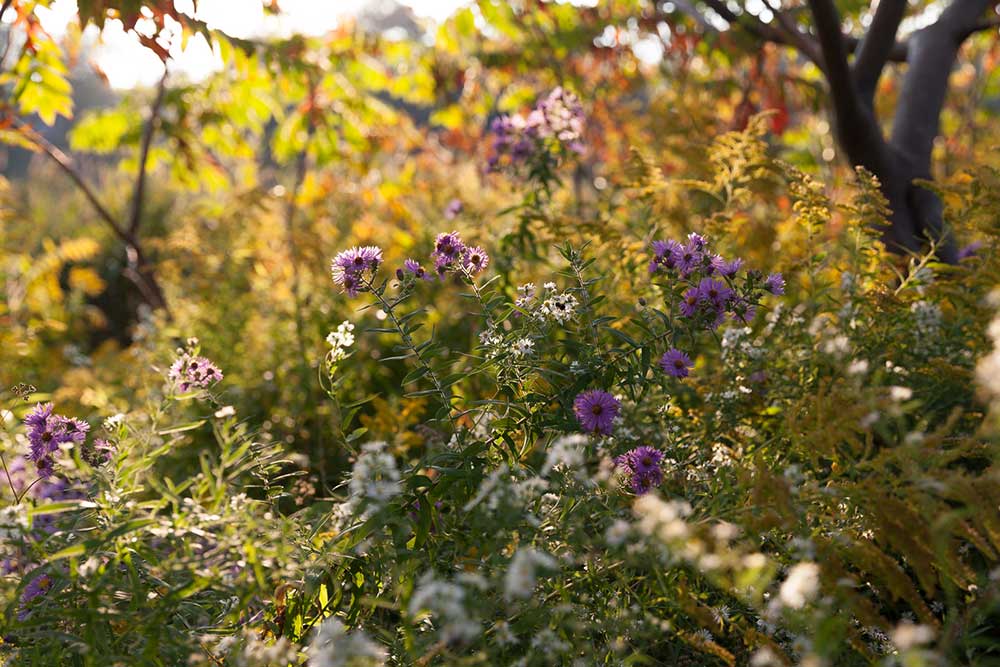
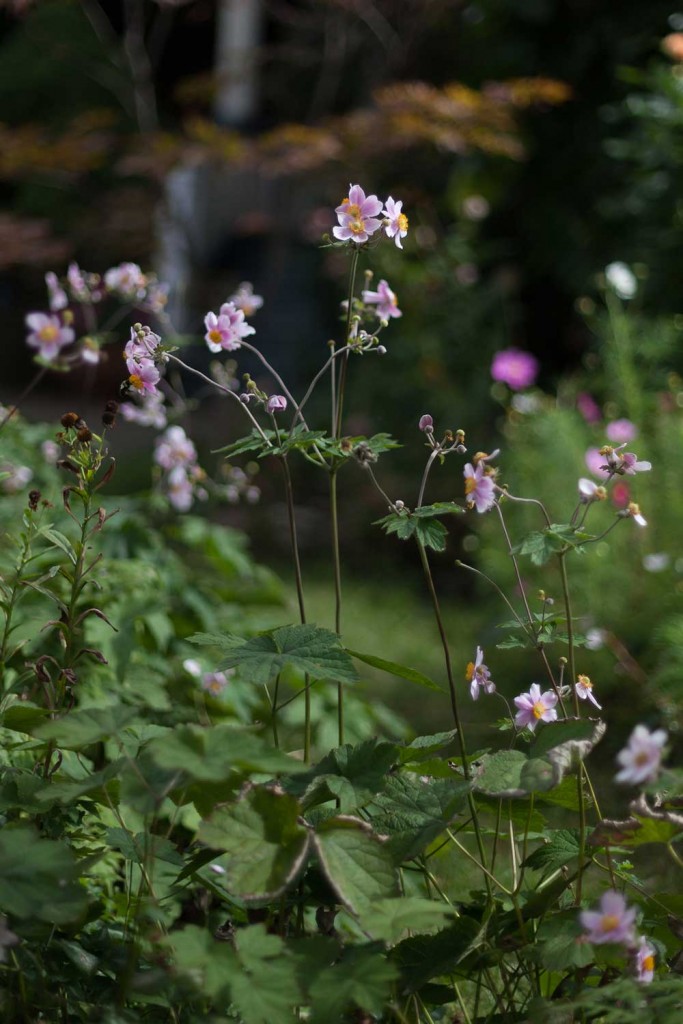
On a snowy day in 2017 I took my first stroll along the West Toronto Railpath with the artist Jason Logan. We marvelled at the gentle way the snow blanketed the plants and the dance of dormant vines along the fence. Except for the occasional flash of bright red rosehips, this achromatic landscape presented a stark contrast to the world of colour visible here in other seasons: the young, vibrant greens that emerge in spring; in summer, the red, pink, yellow, and purple of sumac berries, roses, goldenrod, and wild grapes; in autumn, the leaves blaze gold and burgundy before they fall to the ground.

Logan is the founder of the Toronto Ink Company, which makes street-foraged artists’ inks from plants harvested around the city. We were introduced by a mutual friend who thought we’d be a good creative fit to collaborate on Logan’s then-forthcoming book, Make Ink: A Forager’s Guide to Natural Inkmaking (2018).
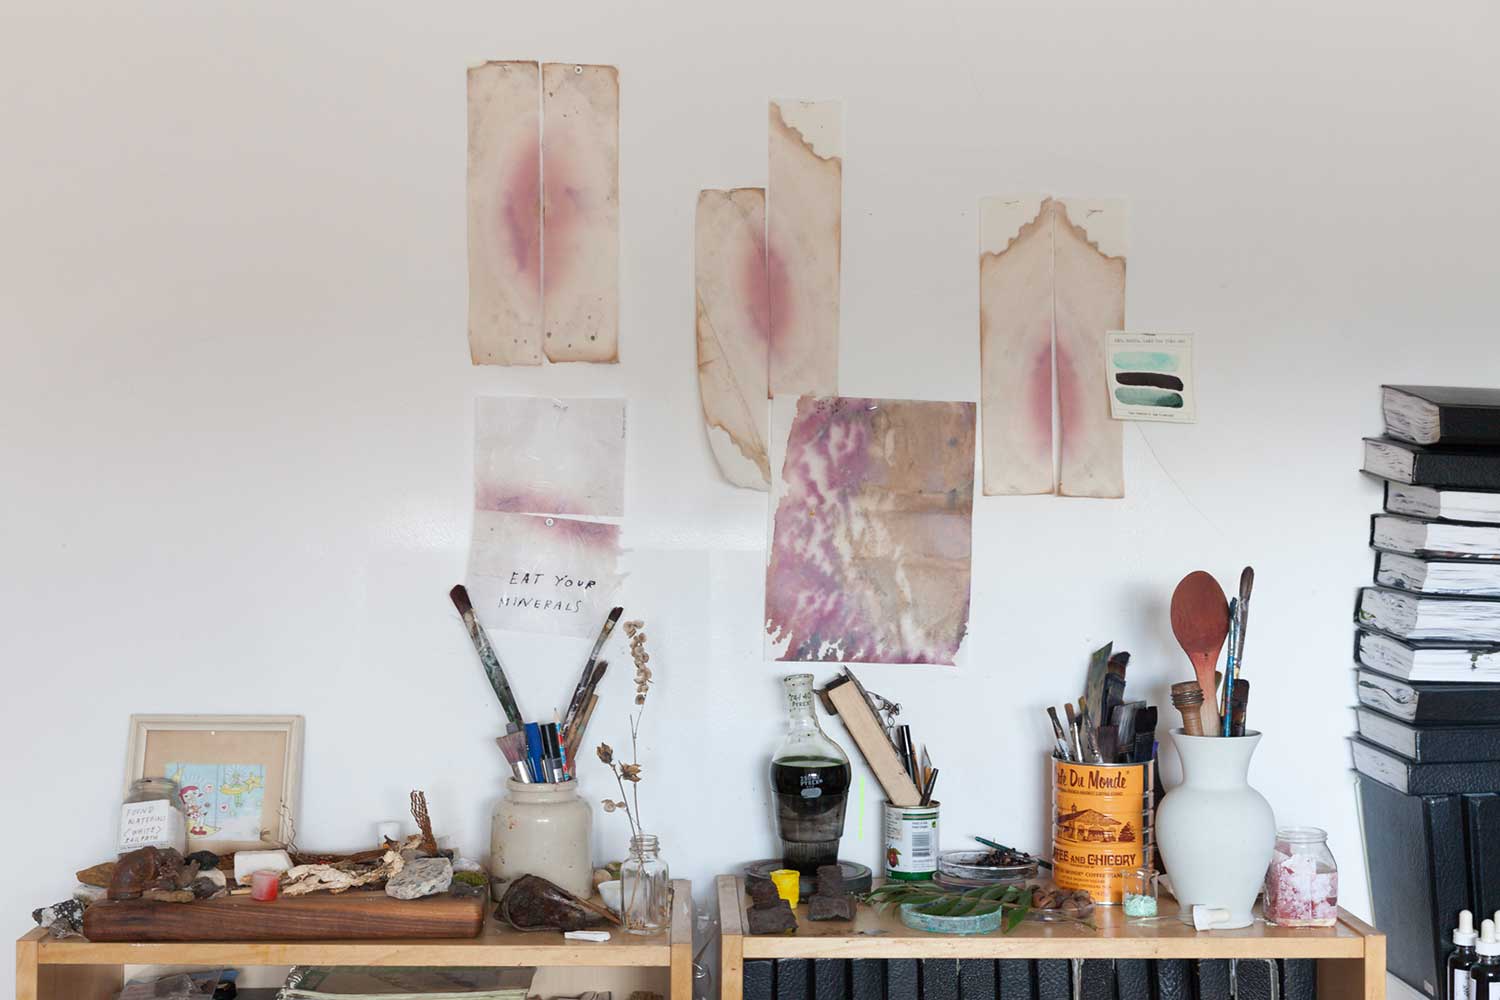
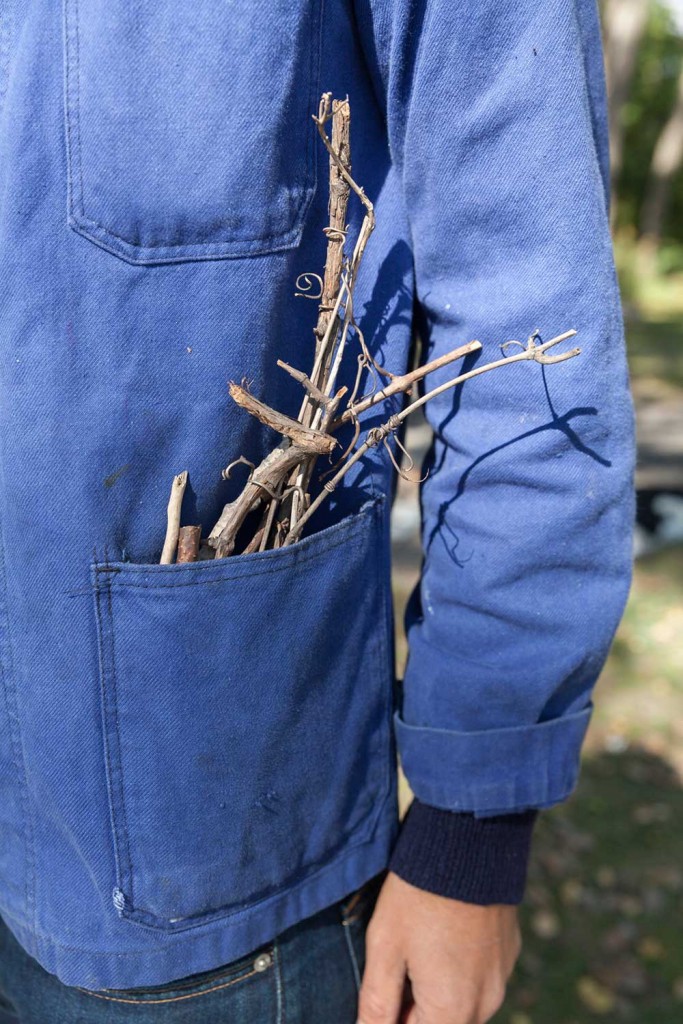
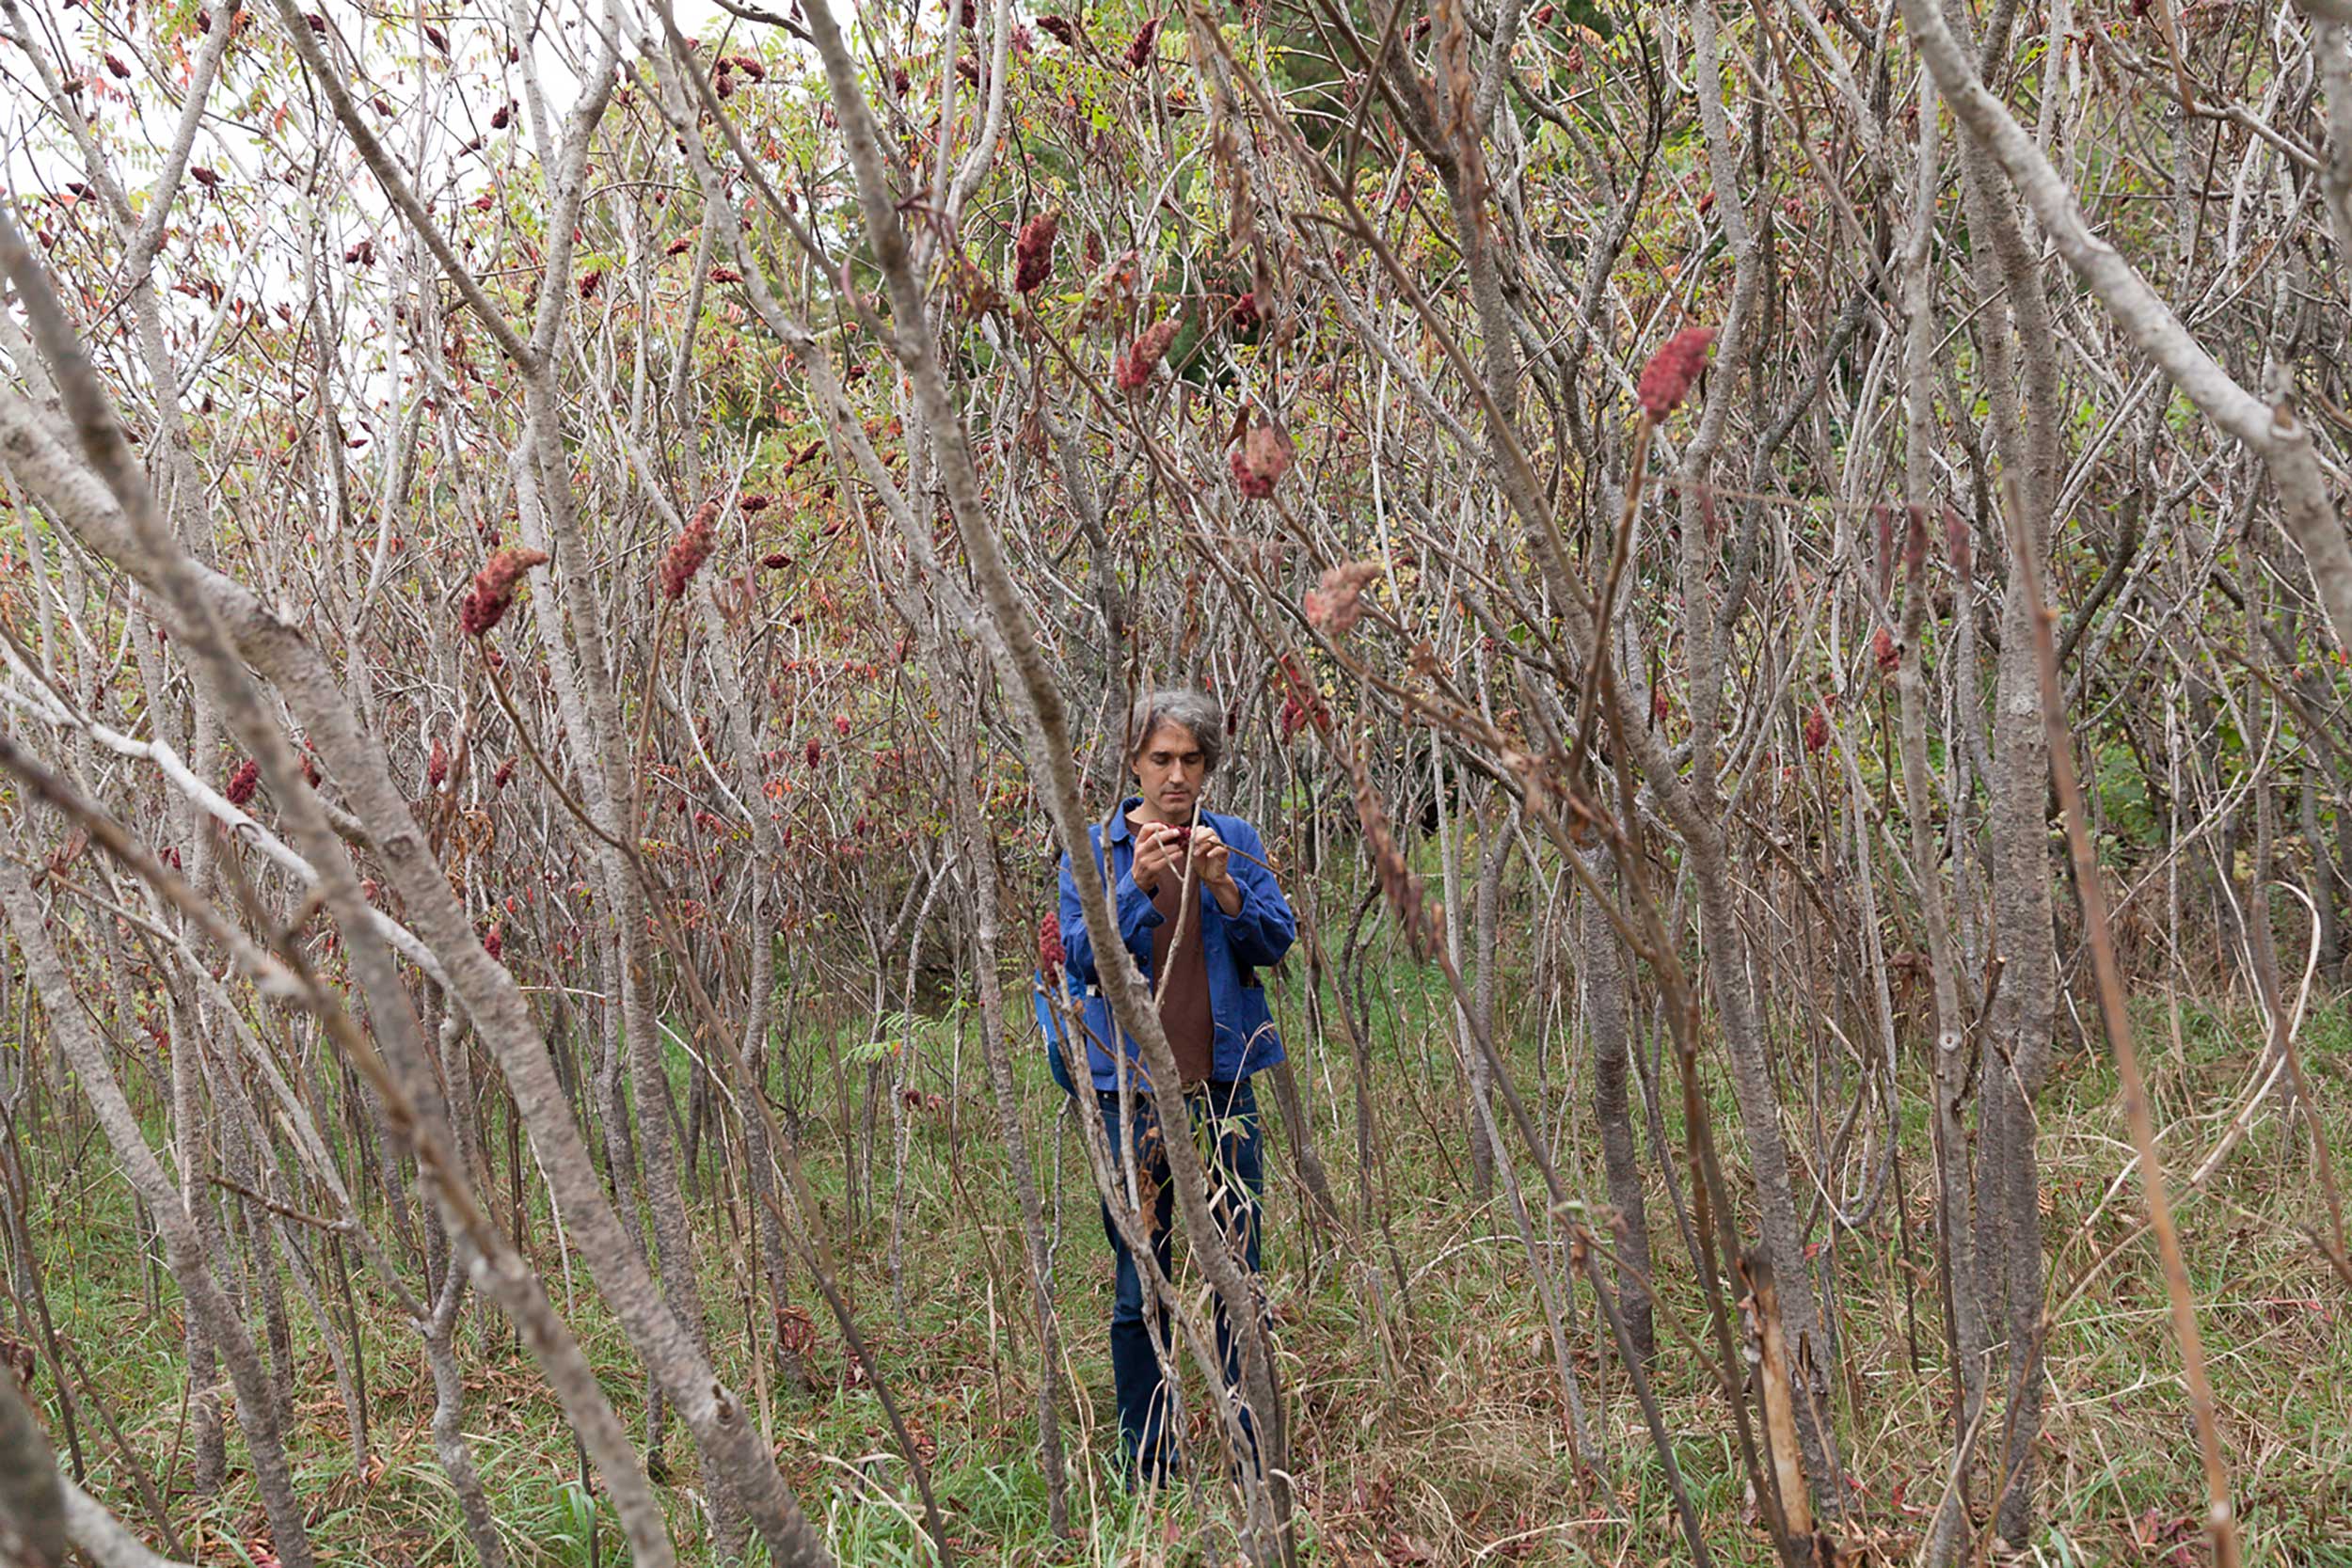
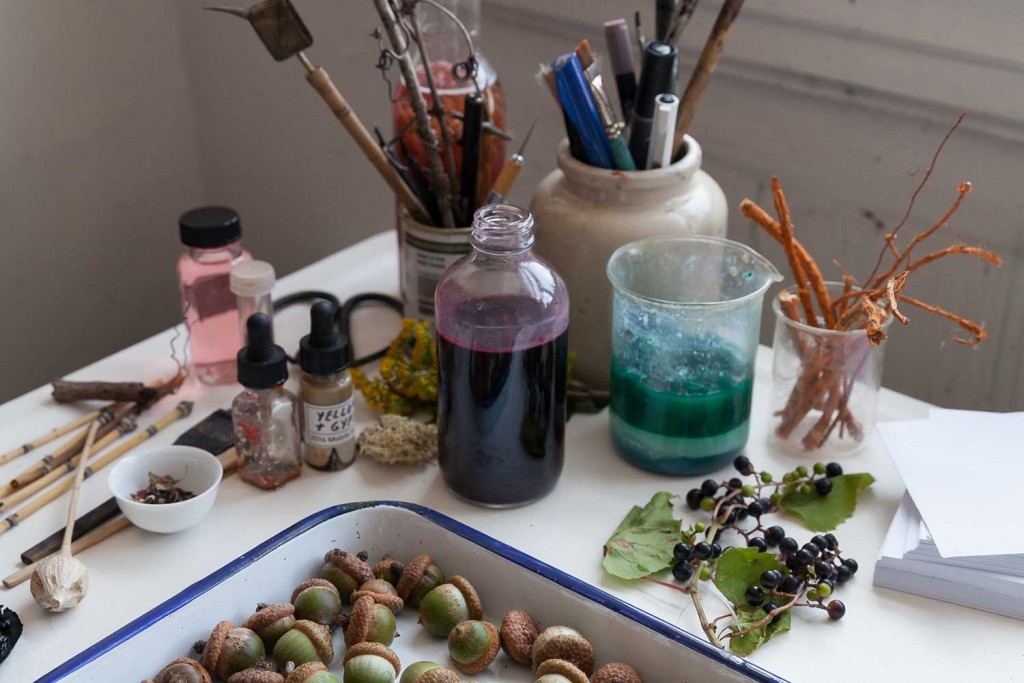
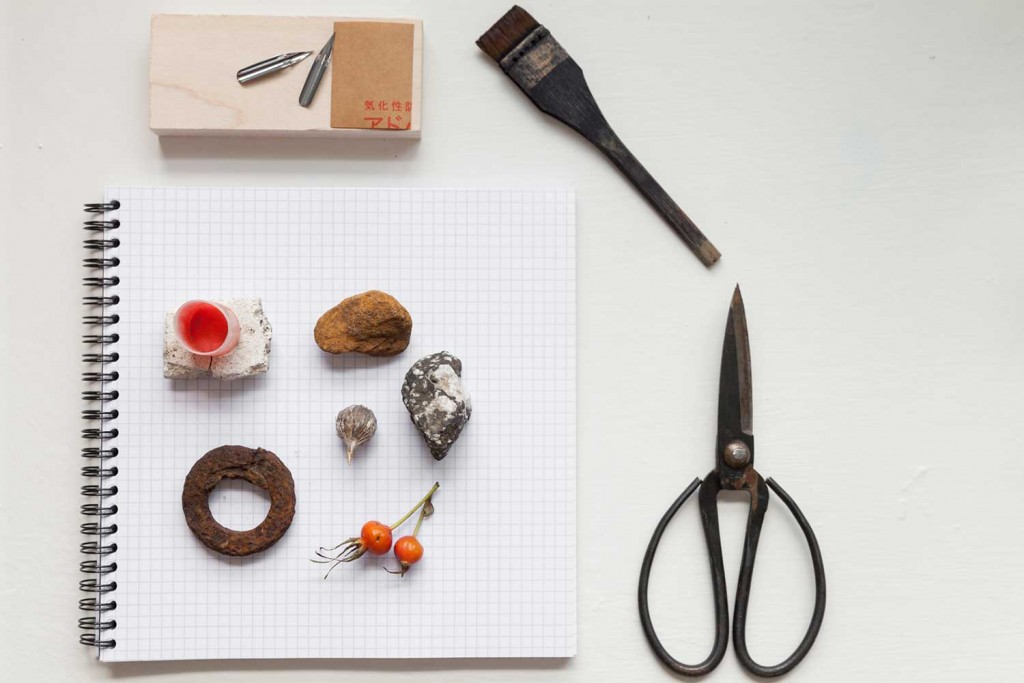
Soon after that first winter forage along the Railpath, we began the book project. Over the subsequent year and a half, I intimately documented Logan’s creative process, from foraging raw materials to creating coloured inks in his kitchen lab. Logan’s understanding of the natural world has been shaped by his studies in history, art, and design and the expertise of a diverse group of mentors from landscape architects to biologists to Indigenous elders. He navigates Toronto’s sidewalks and pathways with the keen eye of an amateur botanist, carefully and lovingly selecting plants that others overlook. At home, Logan was an alchemist, transforming his foraged treasures into colourful inks. His recipes are the distillation of years of research.

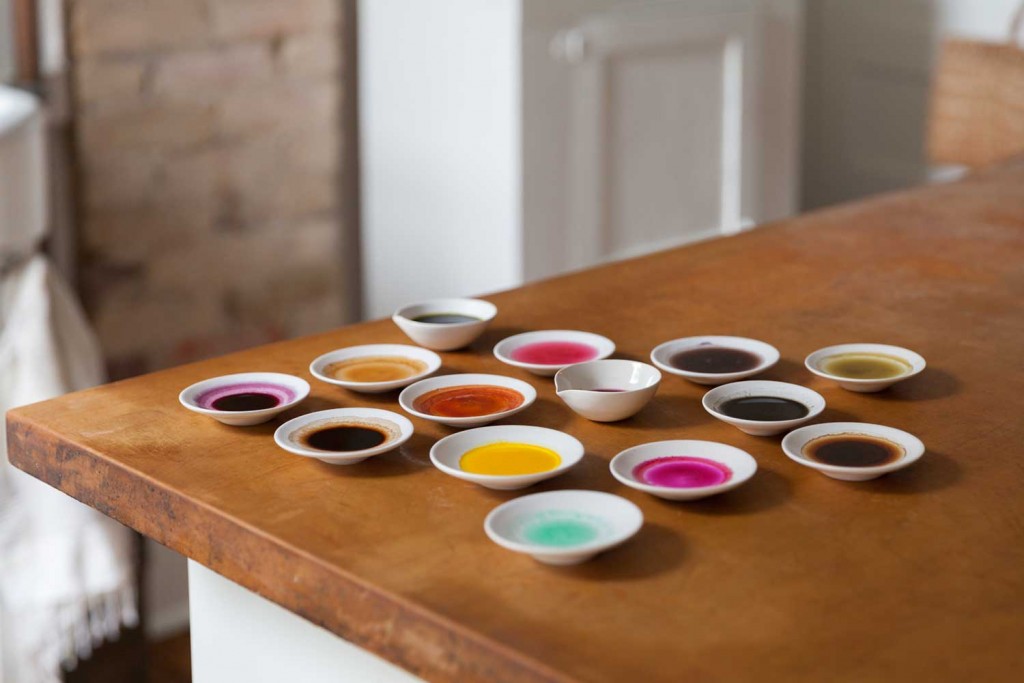
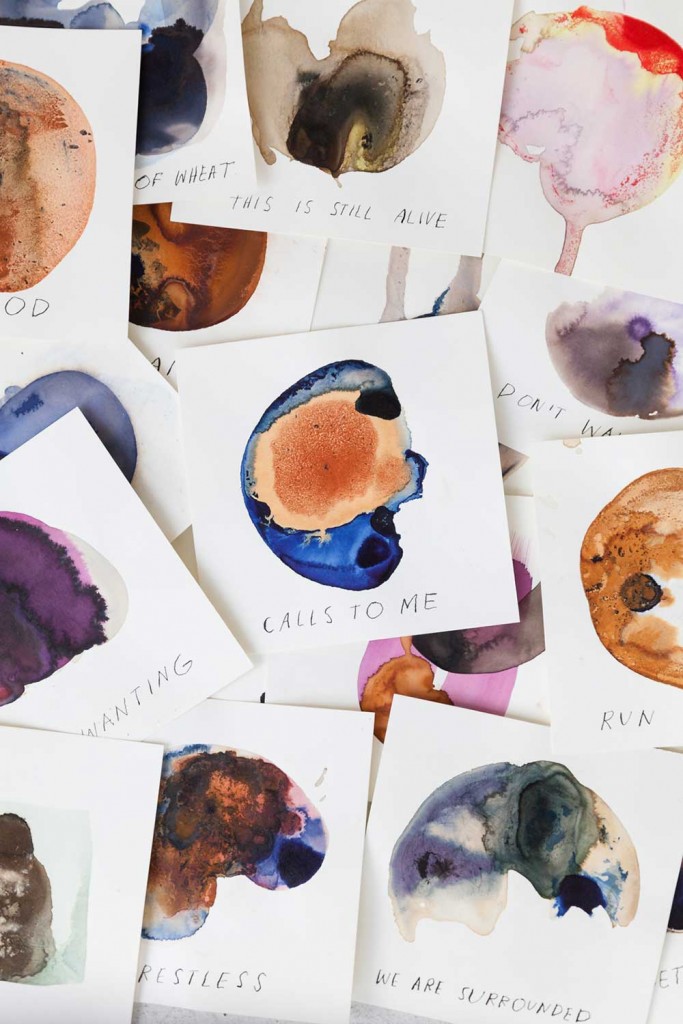
When it comes to natural ink making, Logan is enamoured with the element of surprise. The external appearance of a plant is not always an indicator of the colour that it will produce. For instance, black walnuts impart a brown colour despite their name and lime-green husk, and the deep purple berries of buckthorn bestow a hazy light green. There were many such discoveries: the vibrant red from the pokeberry plant, or the gentle pink tones extracted from safflower petals and rosehip.
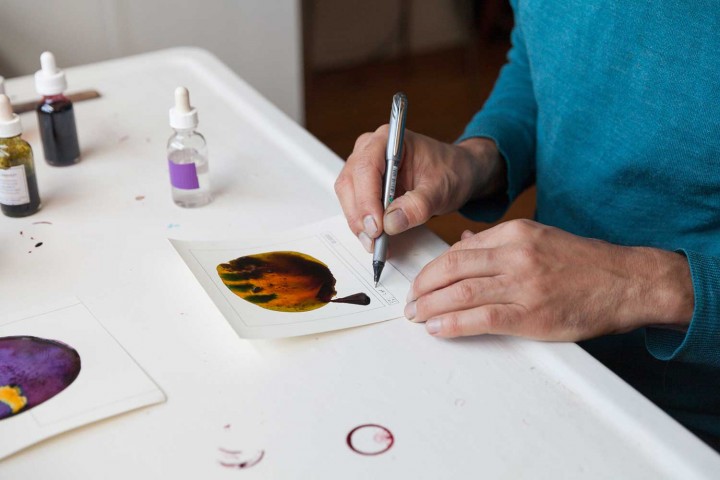
Because Logan doesn’t use any toxic materials to set the inks, the pigments change over time. This slow evolution of shade and tone gives them a wonderful, living quality. Logan most often uses the inks on paper, for what he calls “ink tests.” Any thick cardstock or watercolour paper will do and is an economical place to start. Then, if you want to get fancy, you can try handmade papers. The relationship between the viscosity of the ink and the paper will affect the way it is absorbed and how it moves. The ink can be applied with paintbrushes or straight from the bottle itself, or even with leaves, sticks, sponges, fingers, or by holding the edges of the paper and sliding it around. “Personally, I try not to worry about the image I am creating and just sit back and let the ink do its thing on paper,” Logan says. If you do create something you want to preserve, spray it with a fixative, either natural or synthetic.

Over the course of many foraging explorations, we traversed the city by foot and on our bikes. From the edges of the lakeshore to the city’s inner ravines, I documented these expeditions through my lens. Learning more about plants deepened my appreciation for the abundance of nature available within our cities. It’s there, a magnificent world of colour — all we have to do is look for it.
Natural Ink: A basic recipe
___
Basic Equipment
- measuring cups and spoons
- mortar and pestle
- a pot that you don’t mind devoting to ink making
- spoon or stir stick
- fine-mesh strainer or colander
- funnel
- glass dropper
- glass muller or palette spatula, to be used on a glass surface
- large bowl
- kitchen scale
- coffee filters
- potato masher
- litmus paper
- glass containers with tight-fitting lids
- sticker paper or tape for labels
- an old coffee grinder (optional)
- rubber gloves and some rags for cleanup
- thick white paper, for testing
Sterilizing your equipment
Note: Sterilization is especially recommended for any recipe that requires plant-based materials.
- Place clean bottles, droppers, caps, and utensils in a large saucepan.
- Add enough water to cover all the equipment, making sure there are no air bubbles.
- Bring the water to a boil, and boil rapidly for five minutes.
- Turn off the stove and allow the water to cool completely.
Materials
Note: In addition to the equipment and items above, these are the materials I recommend every ink maker have handy. You won’t need every single one for every recipe, but the more tools you have available, the more techniques you can try.
- water
- a colourful base ingredient (such as berries, rocks, charcoal, nuts, roots, or leaves)
- gum arabic (a binder you can get at most art supply stores)
- wintergreen oil or whole cloves
- white vinegar (cleaning grade if you can find it)
- table or pickling salt
Method
___
1. Prepare the base colour ingredient
For berries: Crush 2 cups [450 g] of berries using a potato masher. Add 1/2 cup [125 ml] water. Then skip to step 3.
For rocks, charcoal, or other dry pigments: Grind a cup of the material down to the finest dust using a mortar and pestle. Add 2 3/4 cups [680 ml] water and 2 tablespoons of gum arabic.
For nuts, roots, or leaves: Combine 2 cups [500 ml] water and 1 cup (250 ml) of plant material, as is, in the pot.
2. Intensify the colour
Put the base colour ingredient into a large, old pot. Add 2 tablespoons of vinegar and 1 tablespoon of salt.
Heat to just below boiling and cook for at least 2 hours, stirring occasionally, until you have an intense ink colour. Dip a strip of paper into the coloured water to test the intensity. Remove from the heat and let cool.
3. Filter the colour
If you have large pieces of plant matter, like roots and leaves, first remove this material with a colander. To filter even more, place the small end of a funnel into the mouth of a glass container and fit a coffee filter into the funnel. Pour your strained liquid through the funnel slowly. The coffee filter should remove smaller particles, creating a cleaner ink. You can always refilter it if it seems too grainy. This step is particularly important if you plan to use the ink in a pen. To keep a pen writing smoothly, you will need to filter out little grains of plant matter very carefully, and use less binder, which can also gum up the nib. For painters, on the other hand, some texture in the ink may be a positive.
4. Make it permanent
Add gum arabic as a binder only after you have achieved your desired colour. For each 2-ounce [60 ml] bottle of ink I usually use 10 drops of gum arabic. If you’re using a dry pigment as a base, you’ll need to use more binder (usually 1 teaspoon per 2-ounce [60 ml] bottle). If you plan to use your ink for a pen, try to limit yourself to just a few drops of gum arabic for each small bottle. Add a few drops of wintergreen oil, or a whole clove, to each bottle to keep the ink from moulding.
5. Bottle it
Any small glass jar or bottle with a tight-fitting lid can work for storing the ink. Your ink will last longer if you sterilize the bottle first with some boiling water. See instructions above.
You can find old empty ink bottles online or save small glass jars and bottles from your kitchen. You can also buy empty 1-ounce [30 ml] bottles in bulk. Label the ink with a sticker, give it a name, and list the ingredients, time, and location of the harvest. The labelling gives your ink meaning and also helps as a reference for later experiment comparisons.
6. Test it
A single drop of natural ink on paper will develop a lot of subtleties as it dries, often intensifying as it evaporates and darkening toward the edges. Be sure to test the ink using various tools: ink droppers, pens, nibs, brushes, and even sticks or feathers change the effect — as do different paper stocks.
7. Clean up
While natural ink tends to stain less intensely than its chemically produced counterparts, ink making can get messy and can stain clothes, countertops, and wooden spoons, so be sure to have rags, soap, and paper towels ready.