Atelier
How to Make a Placemat From Your Old Fabric Scraps
Quilt maker Marilyn B. Armand shows us how to give our old fabrics a second life, drawing on the know-how of several generations of grandmothers.
Text—Marie Charles Pelletier
In partnership with
![]()
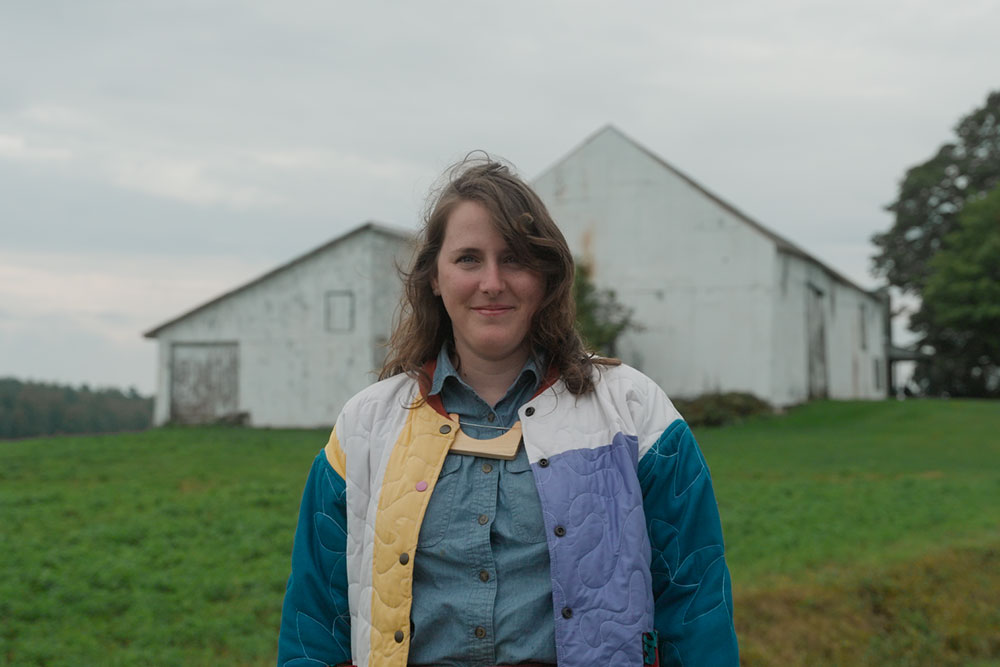
When she was little, Marilyn B. Armand couldn’t keep still. She ran all over the place, leaving a trail of sticky handprints on everything within reach. At her wits’ end, her grandmother sat her down in front of the sewing machine: it kept her busy. Armand quickly learned to sew, without any inkling that she might one day make a career of it.
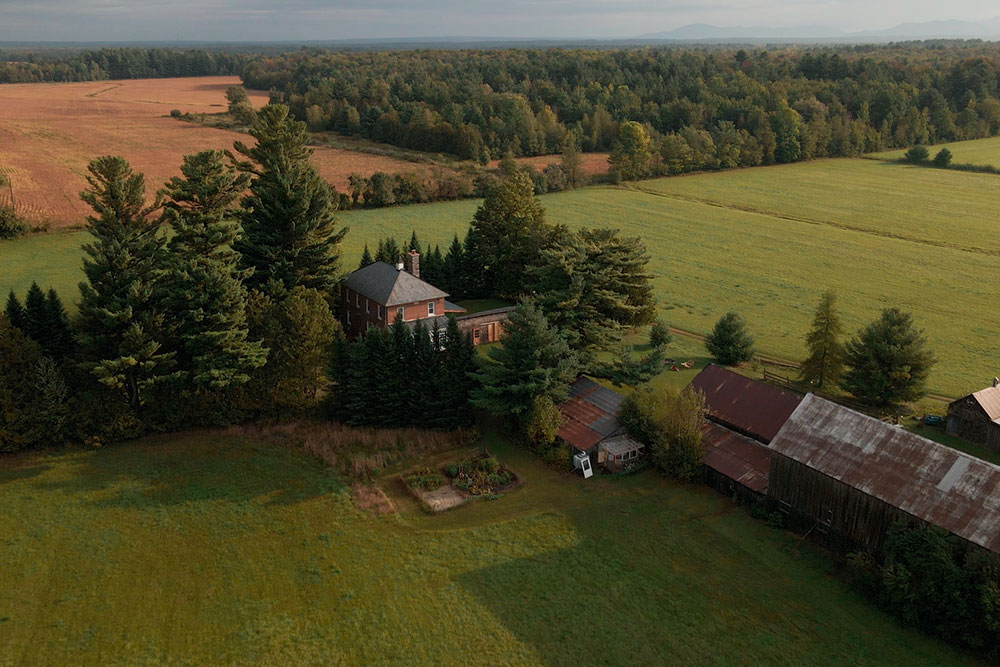
Years later, still unable to keep still for very long, Armand decided to leave the city behind. Without any particular plan, she moved into an old farmhouse in Adamsville, painted the kitchen, and got started planting a large garden.
With a sudden abundance of quiet evenings, and a long-standing interest in crafts, she decided to sign up to join the Cercle des Fermières de Cowansville. That’s where she met France Verrier, a woman in her seventies who stays up late and was happy to spend several nights teaching her an increasingly rare skill set: the art of quilting. This branch of textiles had always intrigued Armand, but she had learned the hard way that you can’t just improvise with quilt making. After a number of failed attempts and poorly aligned seams, it was clear that she desperately needed a mentor.
Under Verrier’s attentive eye, Armand slowly improved her skill and developed her signature style. The days passed, the bobbins of thread unspooled, and Armand founded her company, Le Point Visible: a testament to the intergenerational transfer of knowledge. In the end, her move to the country allowed her to grow cabbages, but also to keep still just long enough to make a quilt.
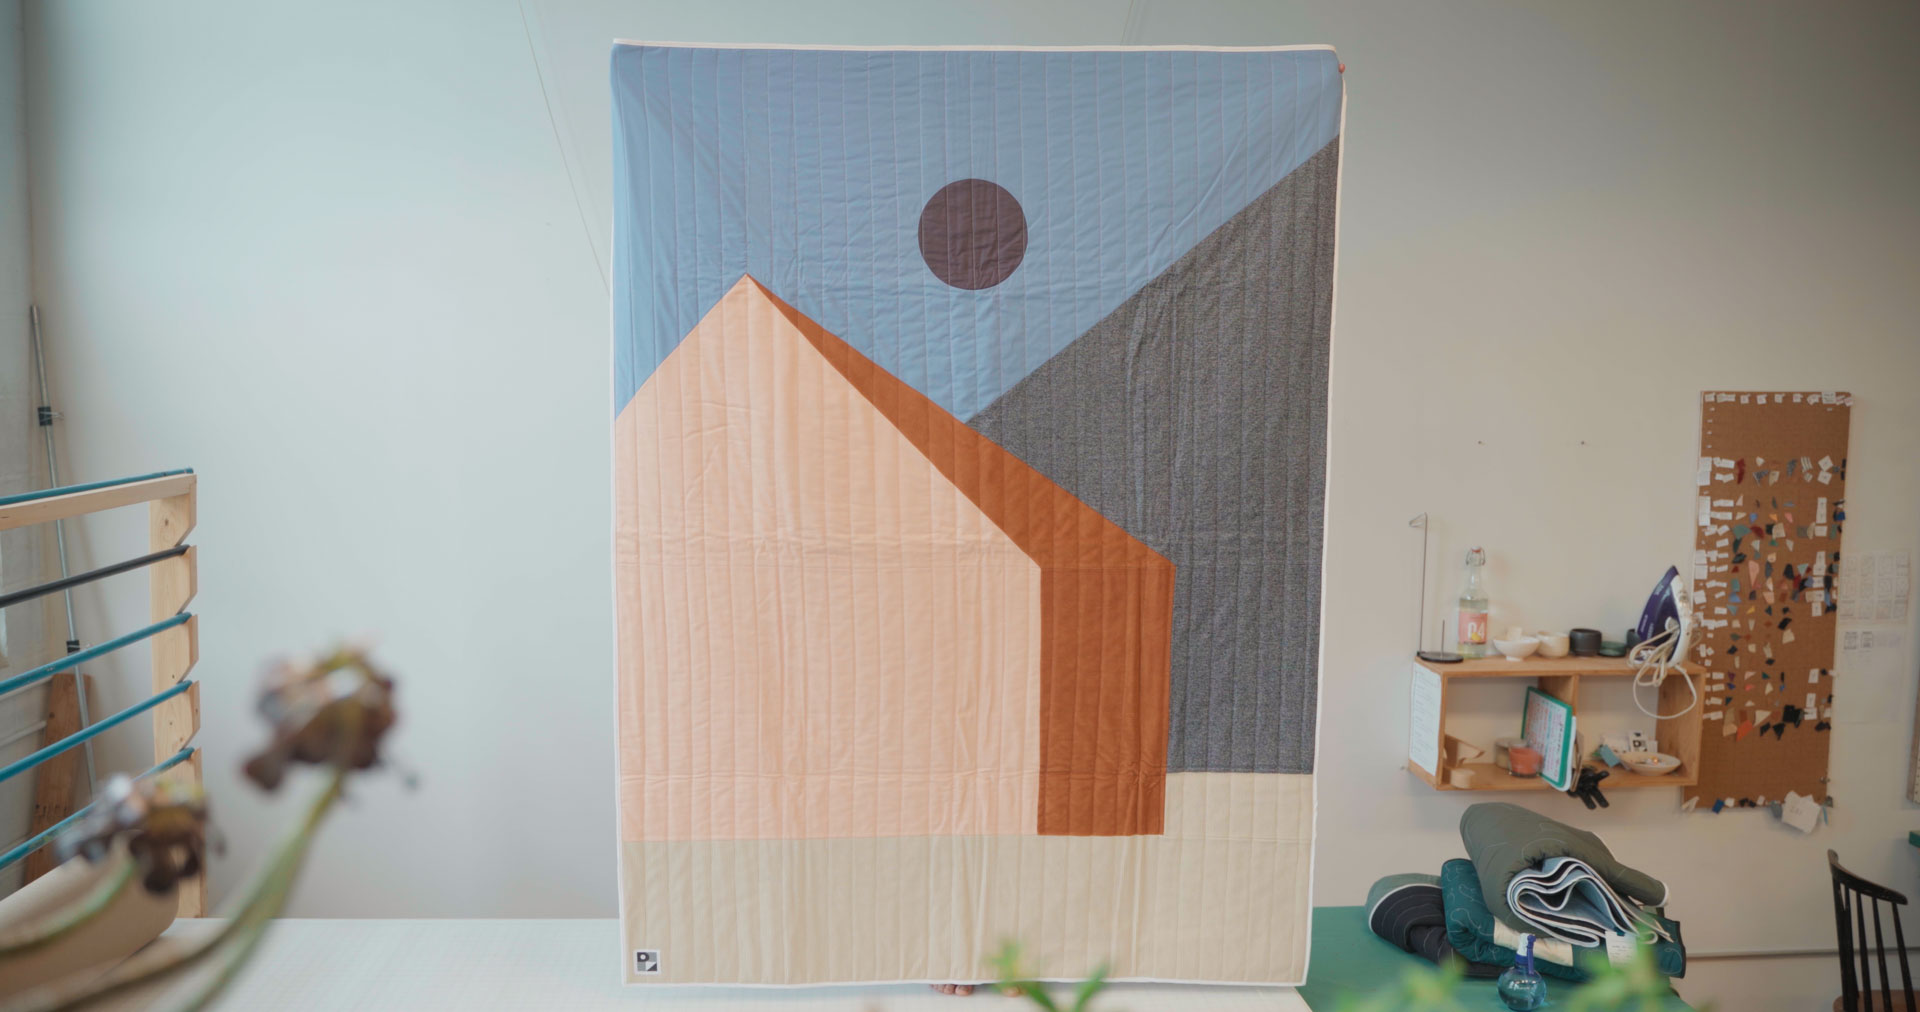
Her workshop streams with natural light. Seated at a table, Armand draws in a small graph-paper notebook. Bolts of upcycled fabric are piled on the shelves: material that otherwise would have ended up in the garbage because of some small flaw. Her suppliers know her well by now and seek her out with rolls they can’t sell. She’ll cut them and find a use for them. Against the trends of the industry, Marilyn B. Armand spends long hours making bedspreads that will last a lifetime.

Give your old fabrics new life
____
To master the techniques of quilting, Marilyn B. Armand recommends starting by designing a placemat.
1. Gather up your old fabrics
Gather all the pieces you’d like to give new purpose to: old cotton sheets, cushion covers that don’t match the colour of the walls anymore, torn dishtowels, clothes you no longer wear but can’t bring yourself to get rid of. Focus on natural fibres such as cotton, linen, and wool.
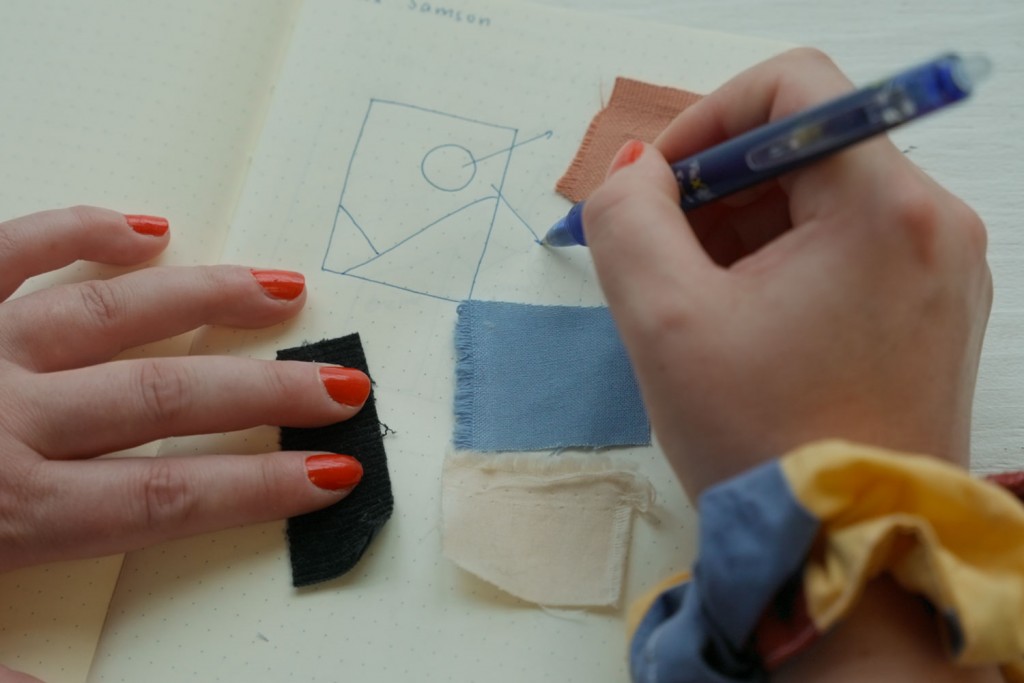
2. Envision your design
Draw an overview of your finished product (a grid, a drawing, or a more complex mosaic) and decide which fabric will go where depending on how much you have of it. Pay attention to the composition, texture, patterns, and colours of the fabrics to make the best use of them.
3. Prepare your fabric
Separate your fabrics by colour and wash them in hot water with a little vinegar. This will disinfect, deodorize, remove grease, and prevent and treat mineral stains, all in an environmentally friendly way.
4. Cut your fabrics
Find the best sections of the fabrics and cut pieces that will fit your design. Include an extra .5 cm for the seam allowance around the outside of each piece.
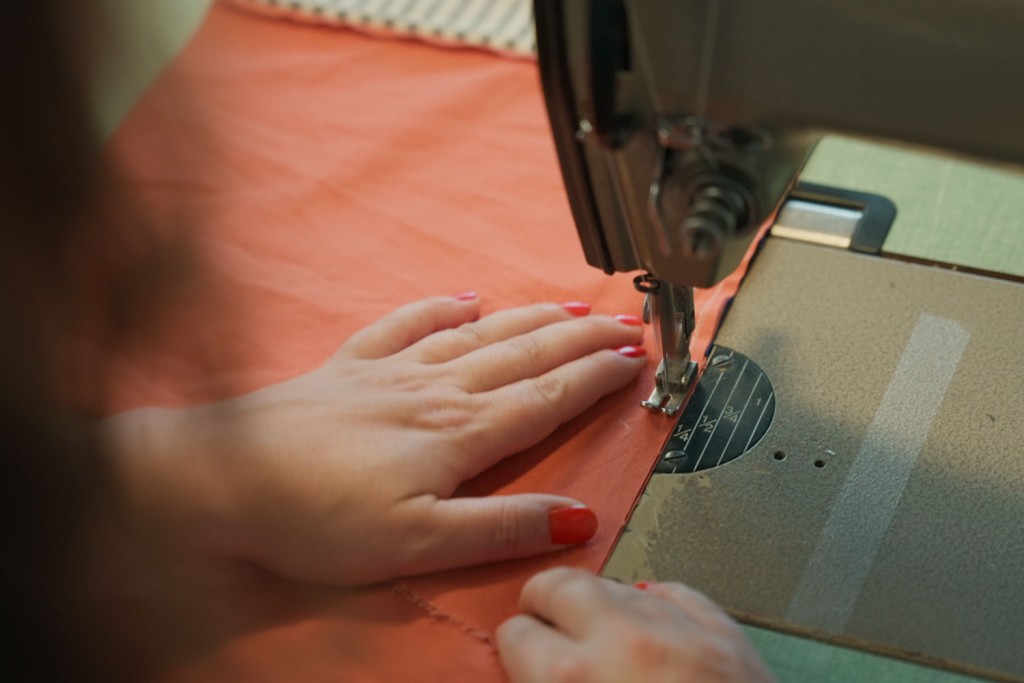
5. Sew the front of the mat
With the sewing machine, assemble the fabrics, right sides facing. Sew together, keeping a seam allowance of .5 cm.
6. Iron your work
Unfold the work and press the back of the assembled pieces in order to flatten the seams.
7. Cut out the lining and backing
Cut out a lining for your mat (from a previously washed piece of fabric), keeping a seam allowance of 2.5 cm on all sides. Do the same with the material that will become the backing of your piece.
8. Assemble the three layers
Lay the pieces out in the following order: backing, lining, and front, right sides out. Pin the three layers together with even spacing between pins. Topstitch through the three layers so that nothing moves and to ensure a long life for your piece. The topstitching can be different patterns: for example, stripes, waves, or even flowers, for more experienced sewists. Keep in mind that the smaller the pieces of fabric, the denser the stitching should be. Cut off the excess lining and backing so all the pieces are the same size.
9. Attach the bias binding
Cut on a diagonal across the weave of the fabric about 5 or 6 cm wide and long enough to go around your placemat. Fold it in half lengthwise, wrong sides together, and press it. Pin it to your piece, right sides together, aligning the cut edges and keeping the folded edge of the strip facing toward the middle. Sew it using the machine, keeping a seam allowance of .5 cm. Turn the piece over, fold the finishing strip over to the back to sandwich the raw edge, and sew it on. This finishing border will protect your piece.

____
Learn more about Marilyn B. Armand and her quilts in the series Les chemins de travers. The series presents stories — not always smooth — of people who have decided to step outside the box, or rethink it. Presented by BESIDE in partnership with Desjardins.
____